Sci-Fi Crate Texturing
Normals & X-Normals
For this project we were given the Object Files of two crates, one being the low poly crate which was very simplistic and plain and then the second crate which was the high poly crate; this crate had much more detail including beveled edges and alot more polys.
 |
| Low Poly Crate & High Poly crate |

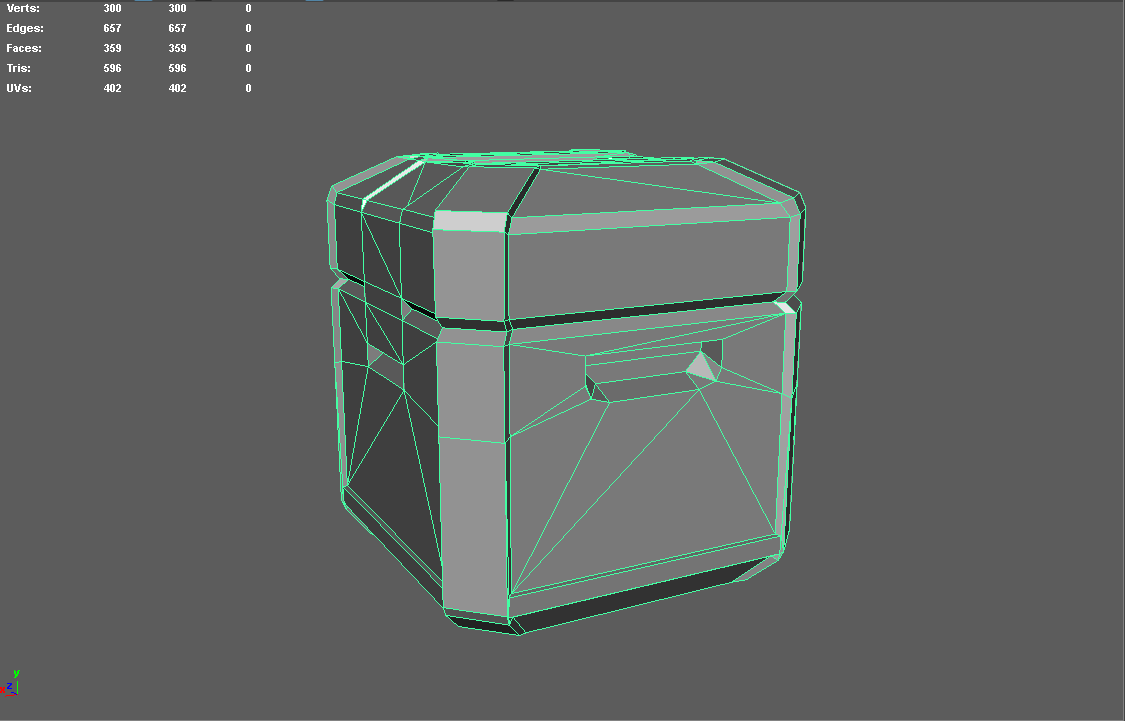
The OBJ files were imported into Maya and we began the project. we put the objects into layers so that each component for each crate could be contained but also could be toggle to be either visible or not.
Once we had studied the objects we began creating the UV's for them, this was a very slow and tiring process as we were planar mapping each face. Planar mapping is when UV's are projected onto an object through a plane, Planar mapping is primarily used on flat surfaces or on objects that can be viewed from one camera angle.
When all the UV's for the Crate were gathered, I sorted them so i knew which UV shell was which and also where they were for example i grouped the UV's from the bottom and the top because i knew they would have the same texture applied to them. The Blue shells are the UV Shells, the reason as to why they are blue is to show that the light from the scene is hitting it correctly and that the faces of the mesh aren't flipped around.

Once the UV's were layed out i created a normal map; a normal map also known as a bump map allows for all of the high detail and parts of the high poly model that are raised or cave in to be taken and flattened into one image, this image allows the low poly model to seem to have the same attributes as the high poly model. Below is the normal map that has been generated and has been applied to the low poly model. The way I created the normal map was by using a program called X-Normals. X-Normals allows you to import both high and low poly OBJ files and creates the normal map from the High Poly Model and applies it to the UV's of the Low poly model giving you the result below.


When the Normal Map was created I then needed to create an Ambient Occlusion Map, this again using X-Normals i could create this map, Ambient Occlusion maps give the object the overall lighting and allows the object to receive and understand the light in the scene. The ambient occlusion map also highlights any shadows in the mesh. I then created the texture with a few White damaged plastic images that I thought went really well for this crate and I also went with an orange top and bottom to give the crate some colour, this was done with a very glossy plastic image which I then gave a colour overlay to give it an orange colour.

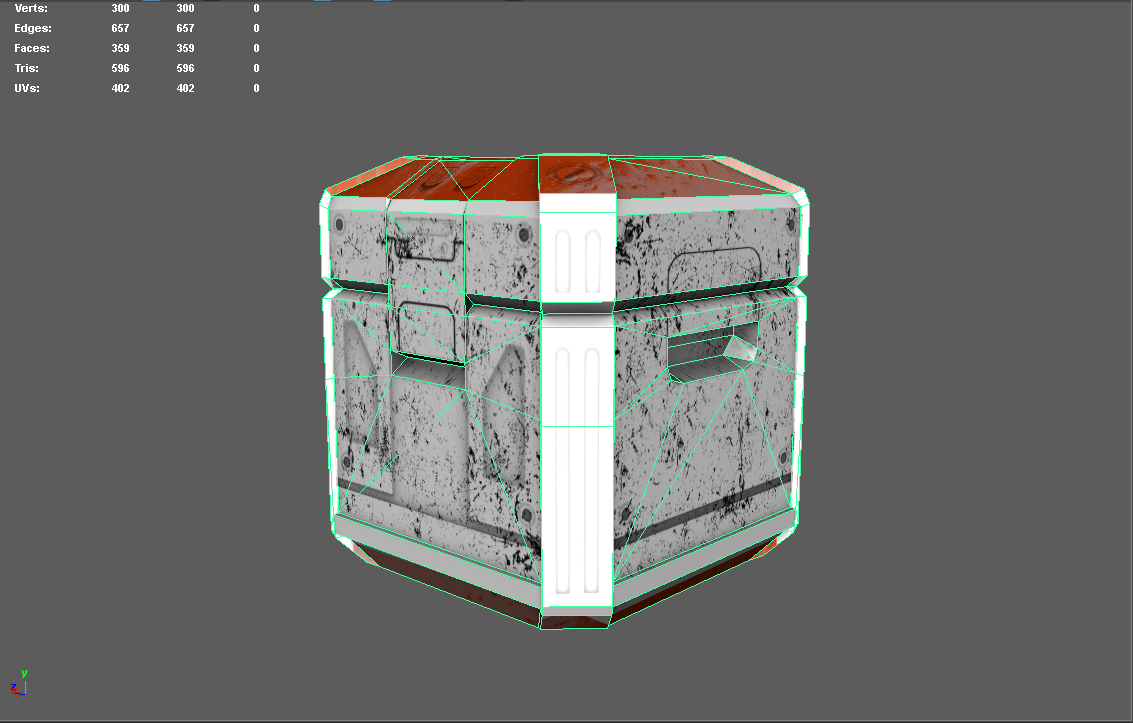
The Finished product on its own in the View-port looked really good and I was pleased as to how the white and the orange complimented each other. Below is the Final Render.

No comments:
Post a Comment