Spell Book Modelling and Texturing
For this assignment we had to design, model and texture a spell book. this post shows how I have modeled my spell book and also how I have textured it.
 |
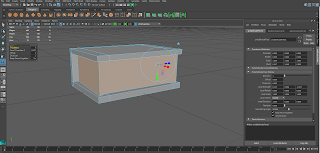
| Simple cuboid to start off with. |
 |
| Extruded Inwards. |
I created a separate model for the latch that would hold the front and back covers together. this would be textured with a keyhole on the front that gave the illusion that the book was locked and belonged to the key holder.
I then Layed out the UV's for the spell book by using an automatic mapping tool, this tool sets 6 planes around an object to capture the UV's of each side of the spell book. Below are the UV's that the automatic mapping tool layed out for me. As I thought these weren't too hard to understand and texture I decided to use these instead of rearranging the UV's and using a Planar map instead.
Once I had created a snapshot of the UV's that had been layed out I took the Jpeg Image of the UV's into Photoshop; its here where i will texture the UV's accordingly. At first I wasn't entirely sure what UV's belonged to which part of the book. So I decided to create labels for each part of the UV on Photoshop as you can see below.
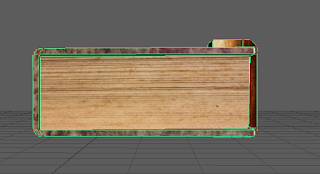
Once I had re-positioned the new texture I then applied it again and these are the results:


No comments:
Post a Comment